


![]()
May 5, 2016
DIY- Pom Trees: Easy & Beautiful Centerpieces
Happy Thursday! If you missed our last post about the start of RWP, check it out here!
This week I thought I would post another DIY for the Everyday Bride. As you know, I don’t consider myself a very DIY person, but I always love playing around with different things so lets DIY together!
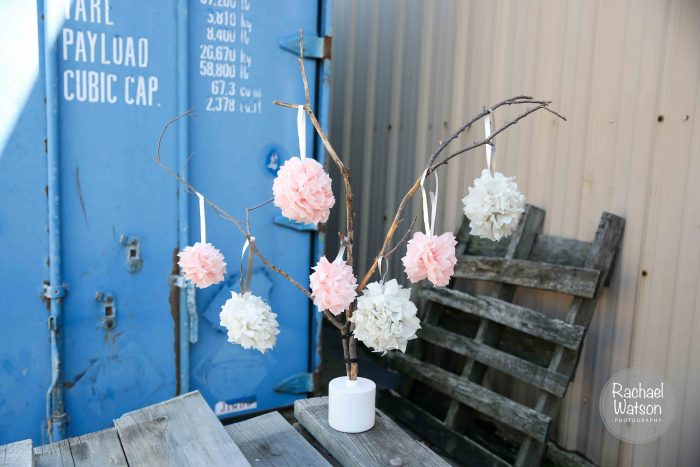
If you’re looking for a delicate and beautiful centerpiece to fit with your wedding theme, this may be a good fit for you. Before I walk you through it though, here is the project 100% done…
For this DIY you’ll need:
- Tissue Paper (Target)
- Scissors (Home)
- Ribbon (Target)
- Thin Wire (More on this below)
- Ruler or Tape Measure (Home)
- Pen (Home)
- Three Sticks (Back Yard)
- Stick/Mini Tree Holder (Target)
- Two Hair Ties (Home)
- Sand (Dollar Store)
For the tissue paper, I choose a couple of soft pastels, but you may want to choose your wedding colors or colors that match whatever season your wedding will be in.
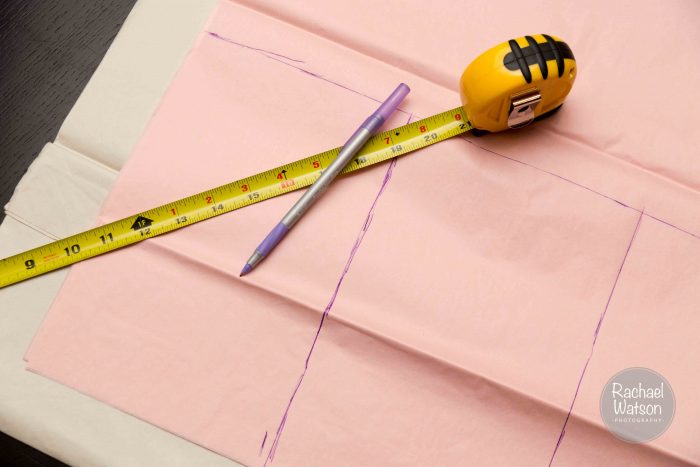
After gathering all of your supplies the first thing you’re going to want to do is to stack 7-9 sheets of tissue paper together. I tried doing this with only 6 in a stack and the poms weren’t as full as I wanted so 7-9 is the way to go. Once you have your stacks, you need to draw your cut lines. I measured out 6″x8″ for the tissue paper poms.
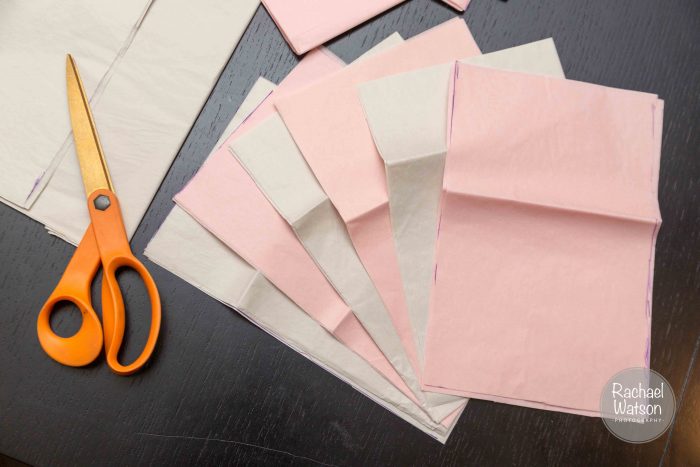
After you have sketched out the measurements, it’s time to cut them out!
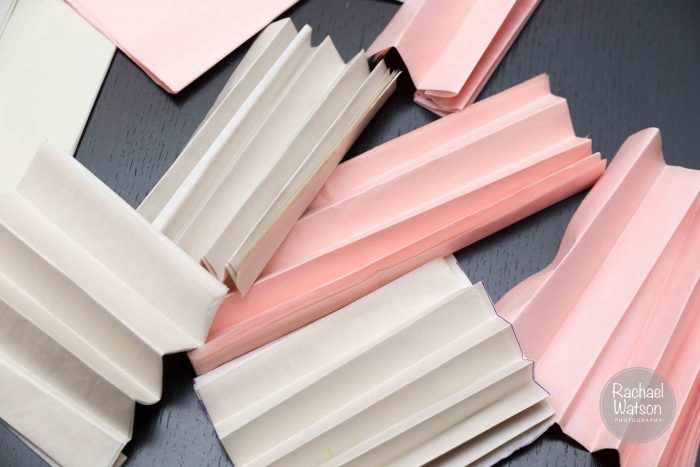
Now that you’ve cut out your tissue paper you’re going to want to start folding them into fans. Remember Kindergarten? You’re going to want to make fans “Hamburger Style.” In other words, fold the 6″ side back and forth.
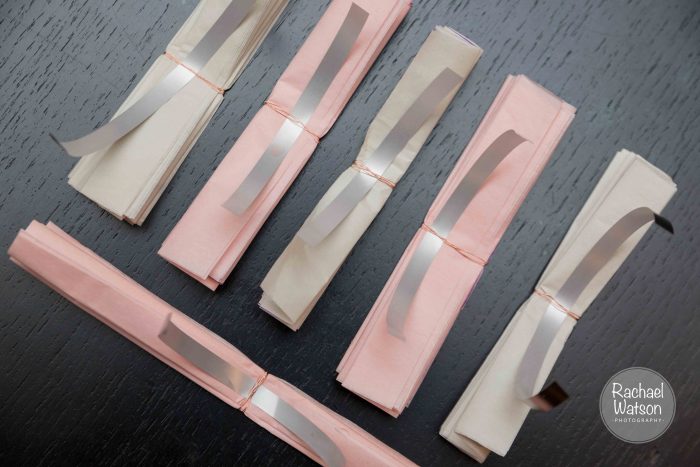
Once you’ve folded your fans, you’re going to want to take wire and wrap it around each of the fans. After you’ve wrapped the wire around each fan, slip 12″ of ribbon under the wire. If it’s too much ribbon in the end, you can always shorten it, but it will be really hard to get to again if your ribbon is to short…believe me!
I had a hard time finding wire so what I ended up doing is finding a scrap of electrical wire and stripping the outer plastic. (Scrap…I didn’t pull wiring out of my house…) I did about 12″ of wire. Once you strip the outer coating I found that it was actually made of 16-20 thinner pieces of wire so I only ended up needing that initial 12″ of electrical wire.
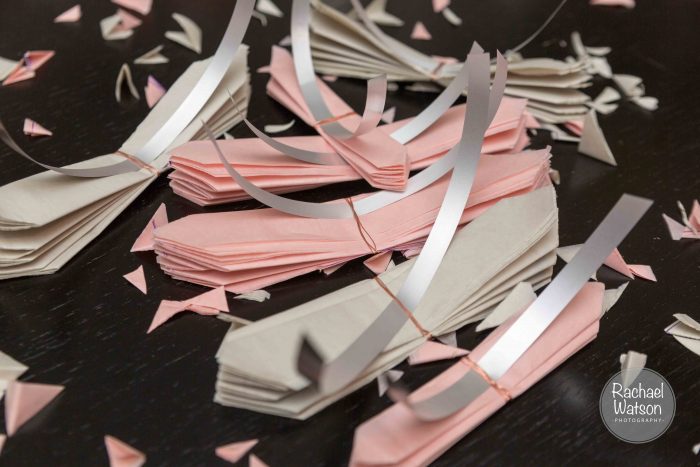
Now comes the fun part. Once you’ve got all the fans wrapped, cut both sides to a point. You’re going to end up with tons of little pieces of tissue paper. You can either save the confetti to go around your center pieces, toss them or do something else creative. Skies the limit!
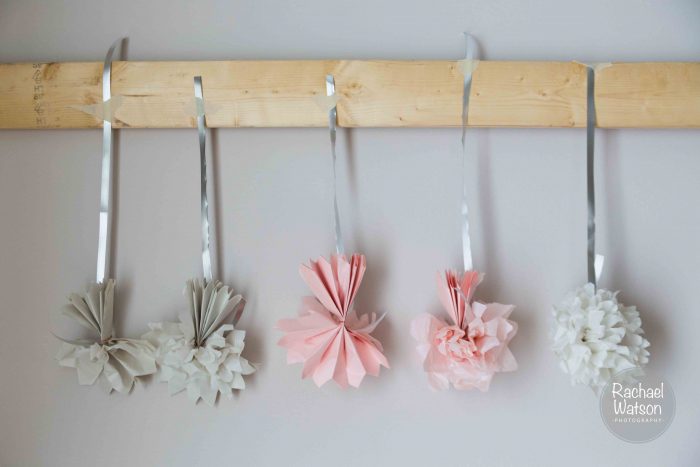
Now you turn your tissue paper fans into tissue paper poms. If you’re a visual person like me, the photo above is step by step.
Fan 1, you’re going to want to pinch the fan right in the middle, on top of the wire. Fan the top half of the tissue paper out and start pulling the layers apart. The fan in the photo is upside down, but you get the idea. Moving to the second fan, keep pulling the layers a part. If you used 8 pieces of tissue paper, you’ll want to pull 4 of the tissue papers down toward you then flip the fan around (Fan 3) and do the same thing with the other 4 pieces of tissue paper on the opposite side.
Fan 4. At this point, you’re half way done! …with one. 🙂 You’ve pulled a part all the layers on half the fan. To get to Fan 5, simply repeat what you did on the opposite side.
How did it go? Mine was a little funky so once I finished I fluffed the fan, looked for bare spots and played with it till it looked a little better.
Once you have all your poms, you want to start working on the branches that will hold them. We have a little brush pile in our backyard so I went back there and pulled 4 or 5 branches that were about the right size and played with them in groups of three till I liked the way it looked. Some of the branches were starting to peel so I skinned off a little bit of some of the branches with a knife. I think this also helped make each branch unique.
Once I had my branches organized the way I wanted them, I took two hair ties and tied them together so that they would look more like one little tree and put them in my container. Once I knew I liked the way that it looked I added sand to the container for counter weight.
The container I choose is actually a soap dispenser. I took off the top dispenser part and was left with a great container with small opening so the branches would hold in place. If you’re making a poms tree for each table, I may try finding a few different containers to add a little variety.
That’s it! I hope you enjoyed creating your own poms tree. If you have other DIY projects you want me to break down for me or any kind of photography question, let me know! Comment below. I want my Behind the Lens posts to be relevant to you. Thanks and keep your eye out every Thursday for our Behind the Lens Blog Posts!
Till Next Time,

May 5, 2016